Step-by-Step Guide to a Successful Visa Application for Denmark
Denmark is a beautiful country known for its rich culture, stunning landscapes, and high quality of life. Whether you’re traveling for tourism, work, study, or family reunification, applying for a visa is a crucial first step. The visa application process for Denmark can seem complex, but with the right guidance, it can be straightforward. This article will walk you through the entire process, ensuring that your visa application for Denmark is successful.
1. Determine the Type of Visa You Need
Before starting your visa application for Denmark, it is essential to know the type of visa that fits your travel purpose. Denmark offers different types of visas depending on why you are visiting. Here are the most common types:
- Tourist Visa: For short stays, usually up to 90 days, for leisure or tourism.
- Business Visa: For short business trips, meetings, or conferences.
- Student Visa: This is for studying in Denmark for an extended period.
- Work Visa: For those who have secured a job in Denmark.
- Family Reunification Visa: This is for those joining a spouse or family member who resides in Denmark.
Once you know which visa applies to your situation, you can begin the application process.
2. Check If You Need a Visa
Not everyone needs a visa to enter Denmark. Denmark is part of the Schengen Area, which means that nationals from certain countries can travel visa-free for short stays. If you are from an EU or EEA country, you do not need a visa for stays up to 90 days. However, if you are from a non-EU country, a visa is required.
You can check if you need a visa by visiting the official Danish immigration website or contacting the nearest Danish embassy or consulate.
3. Gather the Required Documents
The next step in the visa application for Denmark is collecting all the necessary documents. Missing documents can delay or even lead to the rejection of your application. The required documents may vary depending on the type of visa you are applying for, but generally, you will need the following:
- Completed visa application form: You can download this from the Danish immigration website.
- Valid passport: Your passport should be valid for at least three months beyond your intended stay in Denmark.
- Passport-sized photos: These should meet the standard Schengen photo requirements.
- Proof of travel insurance: This must cover medical emergencies with a minimum coverage of €30,000.
- Proof of financial means: You will need to show that you have sufficient funds to support yourself during your stay. This could be in the form of bank statements or a sponsor letter.
- Proof of accommodation: A hotel booking or an invitation letter from your host in Denmark.
- Flight itinerary: Proof of your planned arrival and departure dates.
For work, study, or family reunification visas, you may need additional documents, such as a work contract, admission letter from a university, or a marriage certificate.
4. Fill Out the Visa Application Form
After gathering the required documents, the next step is to fill out the visa application form. Make sure to fill in every section accurately and honestly. Any incorrect information could lead to delays or rejection. The form will ask for personal information, details about your trip, and the purpose of your visit.
If you are unsure about how to fill in any part of the form, you can seek help from the Danish embassy or a visa consultant.
5. Schedule a Visa Appointment
Once your visa application form is filled out, you need to schedule an appointment at the nearest Danish embassy or consulate. Some embassies require online booking, while others may ask you to call or send an email.
Be sure to book your appointment in advance, as embassies can get busy, especially during peak travel seasons.
6. Pay the Visa Application Fee
There is a fee for submitting a visa application for Denmark. This fee covers the processing of your application and must be paid before your appointment. Fees vary depending on the type of visa, but for a short-stay Schengen visa, the fee is usually around €80.
Keep the receipt as proof of payment, as you will need to show this during your appointment.
7. Attend Your Visa Interview
On the day of your appointment, bring all the required documents, including your visa application form, passport, and photos. During the appointment, you will also need to submit your biometric data, which includes fingerprints and a photo.
The visa interview is a crucial part of the process. The visa officer may ask questions about your trip, such as why you are visiting Denmark, how long you plan to stay, and how you will support yourself during your trip. Answer the questions honestly and clearly.
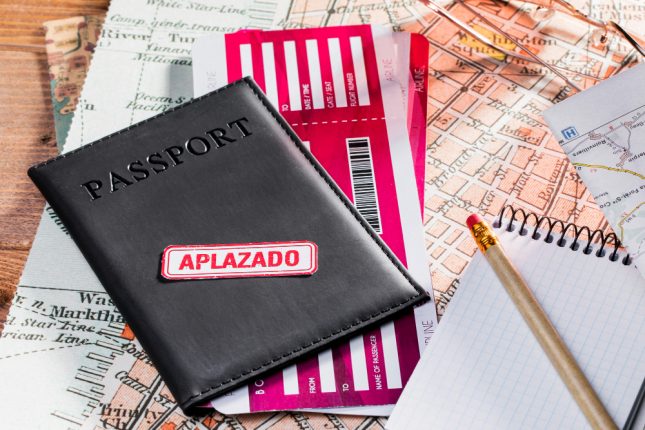
8. Wait for Processing
After your interview, the embassy will begin processing your visa application for Denmark. The processing time can vary depending on your location and the type of visa. For a short-stay Schengen visa, processing usually takes between 15 to 30 days.
For work, study, or family reunification visas, the processing time can take longer, sometimes several months. You can track the status of your application online, or you may receive updates via email from the embassy.
9. Collect Your Visa
Once your visa application for Denmark has been processed, you will receive a notification from the embassy. If your visa is approved, you can collect it in person or have it mailed to you, depending on the embassy’s procedures.
When you receive your visa, double-check the information on it, such as your name, dates of travel, and type of visa. Make sure everything is correct before you travel.
10. Travel to Denmark
With your visa in hand, you are ready to travel to Denmark. Keep all your important documents, including your passport, visa, travel insurance, and proof of accommodation, easily accessible, as border officials may ask to see them when you arrive in Denmark.
Additional Tips for a Successful Visa Application
- Apply early: Start your visa application process at least three months before your planned trip. This allows plenty of time for processing and dealing with any unexpected delays.
- Be honest: Provide truthful and accurate information throughout the application process. Inconsistent or false information can result in your visa being denied.
- Follow instructions carefully: Attention to all requirements, including document formats and photo specifications. Embassy policies are strict, and minor mistakes can lead to delays.
Conclusion
Applying for a visa to Denmark may seem challenging, but by following these steps, you can ensure a smooth and successful process. Always be well-prepared, organized, and timely with your visa application for Denmark. Whether you’re visiting for work, study, or leisure, Denmark is an exciting destination, and the effort will be worth it. Safe travels!